|
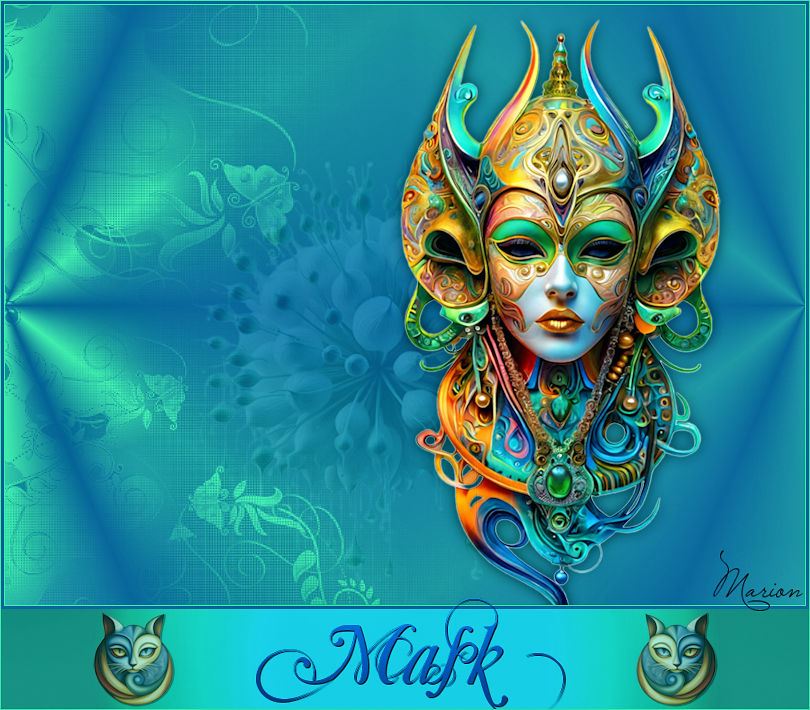
Mask
This lesson was created in PSP 19, but it can also be made in
other versions.
The colors can vary greatly depending on the PSP you are
using. .
Translated by Marion in French, English
Misstyca translated into Hungarian
Thanks to the translators
Click on the flag to see the translation
  
Plugins Reneegraphisme Hier
Supplies:
Mask - pspcybermask010 - Open the mask and minimize the
mask in PSP
Font - Mutlu - Ornamental - Install your font
Gerrie has used the following filters
Simple.
Unilimited 2.0
Factory Gallery A
(Import into Unlimited2.0)
Nik Software - Color Efex Pro3.0 Complete -Tonal Contrast
Material
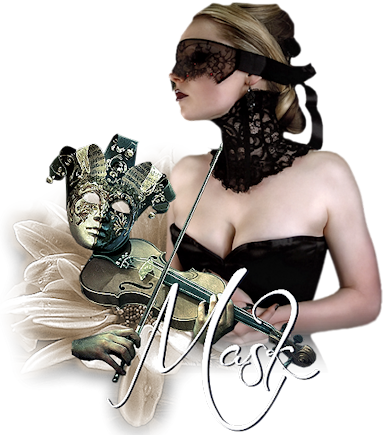
Tuben : luzcristina, NS
If there is a tube of yours, please let me know so I can add
your name.
Thanks to all the tube makers and creators for creating these
wonderful tubes.
Leave the watermark on the tube intact.
Copyright belongs to the original artist
Give credit to the creator.
****
Note: When working with your own colors -
play with the blend mode and/or opacity at your own
discretion.
If you use your own images and/or tubes, make them the same
size!
****
Step 1
In your tube, find a light color for the foreground and a dark color for the background.
Gerrie's color choice:
Material Properties - Set your Foreground color to color
#c4bfae - Set your Background color to color #373122
 .jpg)
Step 2
Replace your Foreground color with a
Foreground/Background Radial gradient configured like this
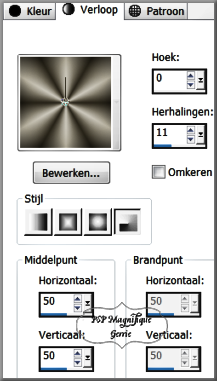
Step 3
File-Open a new transparent image in this size : 800 x 600
pixels
Step 4
Flood Fill Tool - Flood fill the layer with the gradient Flood fill the layer with the gradient
Step 5
Effects - Plugins- Simple - Left Right Wrap
Step 6
Layers - New raster layer.
Step 7
Flood fill - the layer with the background color
Step 8
Layers - New mask layer - From image – choose your mask - pspcybermask010
If the mask does not appear correctly, try using
Invert mask data checked

Step 9
Adjust - Sharpness - Sharpen
Edit - Repeat - Sharpen
Step 10
Layers - Merge - Merge group.
Step 11
Layers - Properties - Change the blend mode of this layer to
Hard Light
Step 12
Activate the tube - ametista_antique_petals_05.06
Edit - Copy
Step 13
Activate your work
Edit - Paste as new layer
Step 14
Pick Tool: (K) on your keyboard -Enter these parameters on
the toolbar
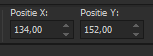 X134 - Y152 X134 - Y152
Press the ( M ) button to close the tool.
Step 15
Layers-Properties-Reduce the opacity of this layer to 36%
Step 16
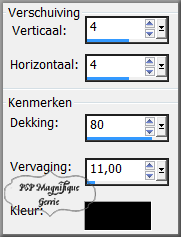
Effects - 3D - effects - Drop shadow use the settings below .
Step 17
Activate the tube - 1702-luzcristina
Edit - Copy.
Step 18
Activate your work
Edit - Paste as new layer.
Step 19
Put the tube on the right side
Step 20
Image - Resize by 90% - Resize all layers not checked
Step 21
Effects - 3D - effects - Drop shadow of your choice
Step 22
Image - Add borders - Symmetric checked - 1 pixel -Background color
Image - Add borders - Symmetric checked - 3 pixels -Foreground color
Step 23
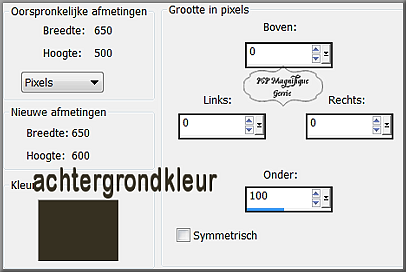
Image - Add borders - Left - Top - Right 0 - Bottom at 100
Background color
Step 24
Activate your Magic Wand - Tolerance at 1 and Feather at 0 -Select the border

Step 25
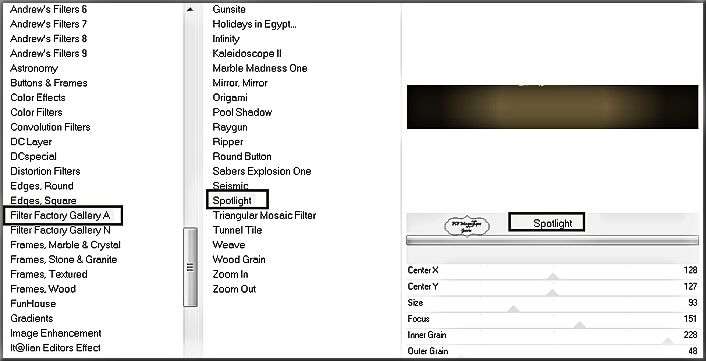
Effects - Plugins -Filter in Unlimited 2.0 - Factory Gallery A -Spotlight
Using the default settings
Step 26
Selections – Select none
Step 27
Material – Properties - Reverse the colors, light color is
now the background color
Step 28
Activate your Text Tool - Font of your choice -Or use Gerrie’s
font

Write the text “Mask “- with color of your choice
The size of your font depends on the text you are going to
write.
And put the text in a nice place
Step 29
Layers - Convert to raster layer
Step 30
Pick Tool: (K) on your keyboard -Enter these parameters on
the toolbar
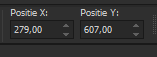 X 279 - Y 607 X 279 - Y 607
Press the ( M ) button to close the tool.
Step 31
Effects - 3D - effects - Drop shadow of your choice
Step 32
Activate the tube - NS_105_0309
Edit - Copy.
Step 33
Image - Resize by 78% - Resize all layers not checked
Step 34
Activate your work
Edit - Paste as a new layer.
Step 35
Pick Tool: (K) on your keyboard -Enter these parameters on
the toolbar
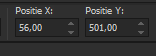 X56 -Y501 X56 -Y501
Press the ( M ) button to close the tool.
Step 36
Effects - 3D - effects - Drop shadow of your choice
Step 37
Layers - Arrange – Move down
Step 38
Layers - New raster layer
Add your watermark
Step 39
Image - Add borders - Symmetric checked - 1 pixel -Background color
Step 40
Effects - Plugins - Nik Software - Color Efex Pro3.0 Complete
-Tonal Contrast and OK

Step 41
For the Gallery
Image - Resize to 800 pixels - Resize all layers checked
Step 42
File - Export - JPG - Give a name and save your image.
***
Have you created a lesson and want to share it?
Send me an email to- pspmagnifique@gmail.com
Please do not use images larger than 800 px
***
This lesson was written by Gerrie on Oct. 13, 2009
This lesson is and will remain the property of Gerrie.
They may not be copied or distributed without my written
permission.
All my lessons are my own, so any similarity is purely
coincidental.
All of my lessons are registered with TWI
proud member

|